I bought my house 3 years ago. It was basically good-to-go when I moved in but I chose this 3 story townhouse because when I first saw it I imagined all the ways I was going to make it my own. It has so many rooms and nooks to play with. Since then, I have painted a few rooms and gotten through the furnishing part of it. I am just now getting to choosing and hanging art on the walls. Time to get my ass in gear and get this done.
This weekend I decided to redo the back stairs leading from the basement family room to the front landing. The paint was in need of refreshing and the painters that were hired by the owner before me used a ton of caulk on the floor. I spent some time removing the caulk with a putty knife and cleaning and lightly sanding the back boards so that everything would stick better. Then, I taped up the edges, arranged and stuck the letters and rolled on the paint. Last, remove the tape and letter stickers (while it’s still wet). I only had a random spot or two to clean up where the paint got under the edges of the letter stickers.
Here is the before:

The during:

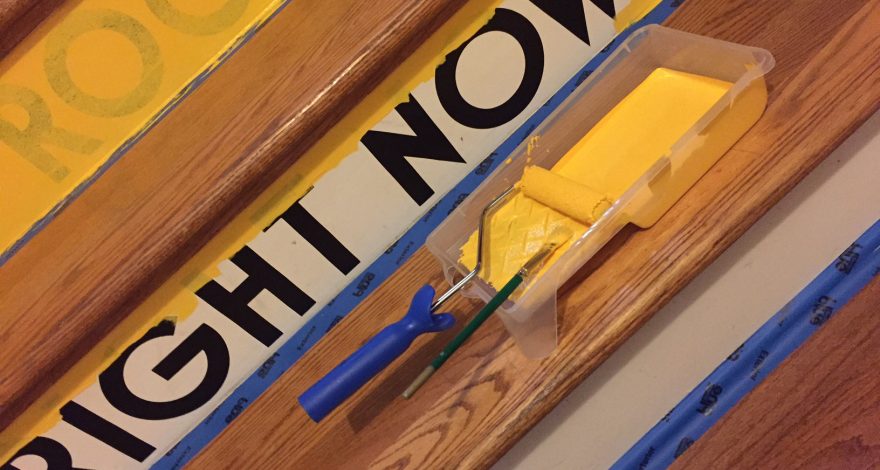
More during:

And after:

Here’s the cost breakdown:
Yellow paint: $17
Paint roller and tray kit: $6
Contact paper (I used a Cricut Cutting System to cut out the letters): $7
Painters’ tape: $5
You can also buy stick on letters to use if you don’t have a way to cut them out.
It took about 2 hours to finish.
I love the placement of this. You can’t see it from the front door, only when you come out of the great room on the first floor. It’s sort of hidden until you leave. It makes it something of a surprise to guests.